Short step-by-step screenshot guide for an initial configuration of NSRP on two Juniper ScreenOS firewalls, such as the SSGs. One screenshot pack for the https GUI and another one for the Network and Security Manager (NSM) since I am always searching for the positions of the commands on it. Finally, I am listing the appropriate CLI commands.
Remember that you must have two ScreenOS devices of the same hardware model and software version. Furthermore, at least a single interface on both devices should have the same virtual IP while both have different manage IPs. In that way, both devices are accessible after building the cluster.

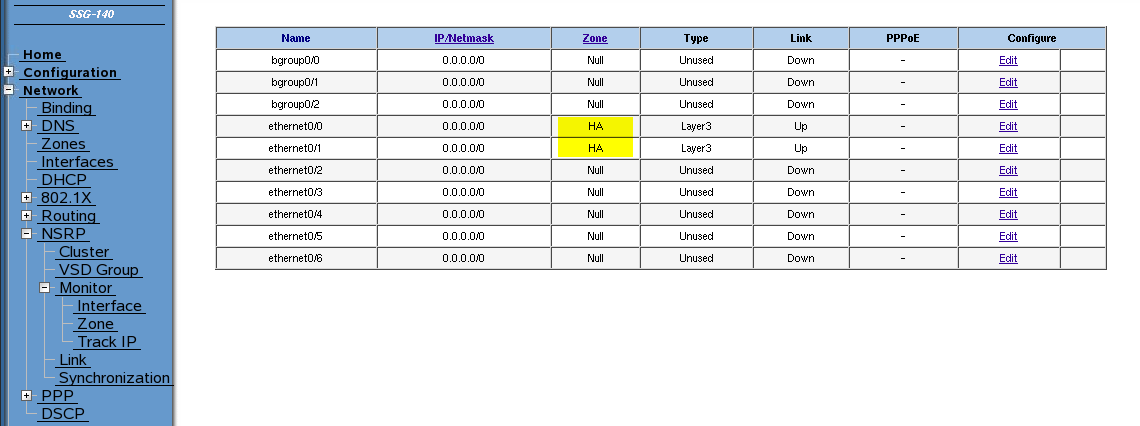
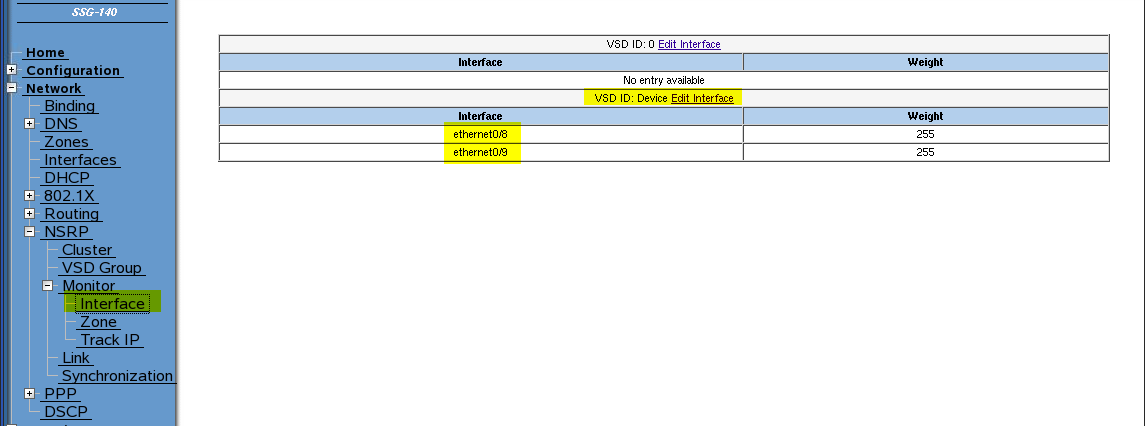
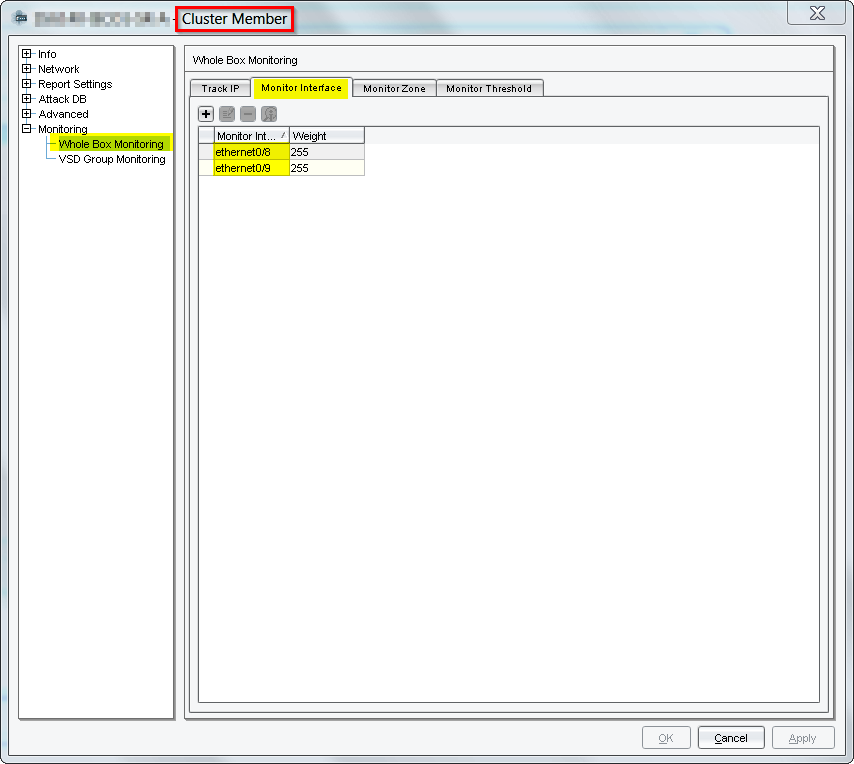
The following commands have two HA interfaces configured (eth0/0 and eth0/1). Furthermore, two monitored interfaces were configured: eth0/8 and eth0/9.
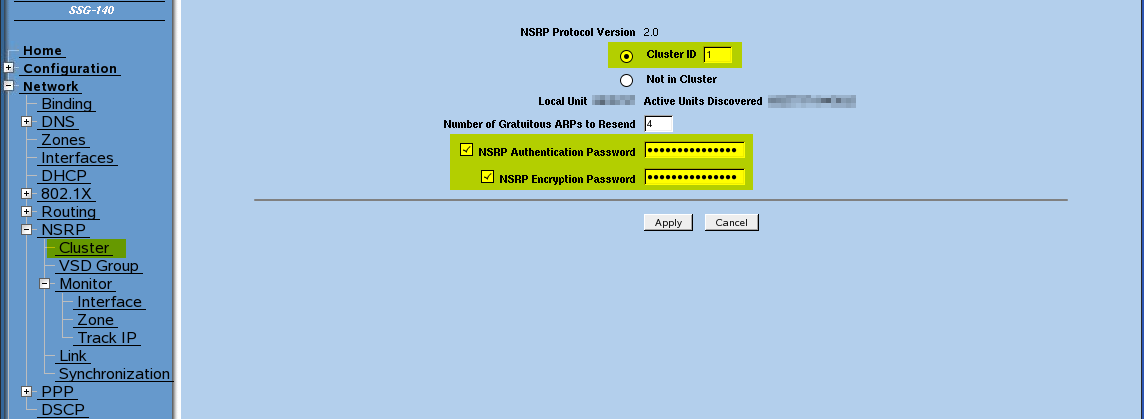
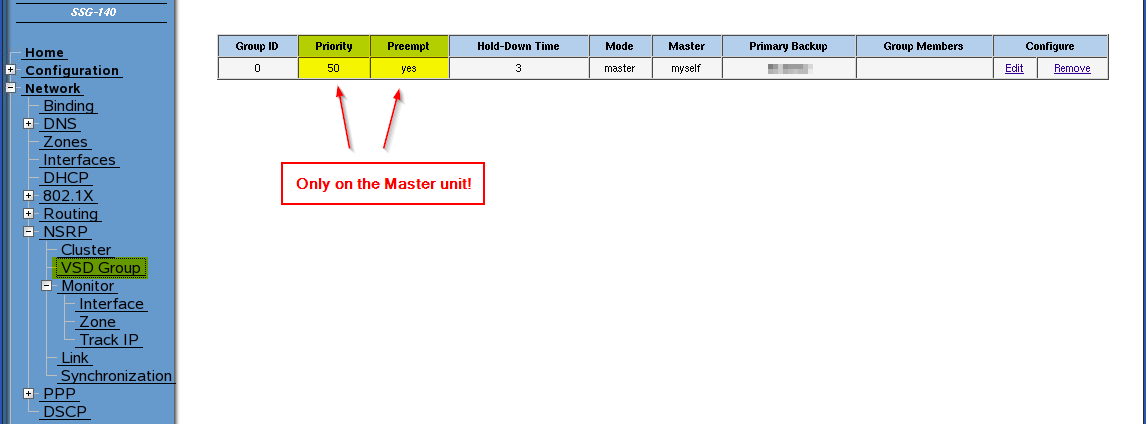
GUI
SSG140, 6.3.0r17.0:


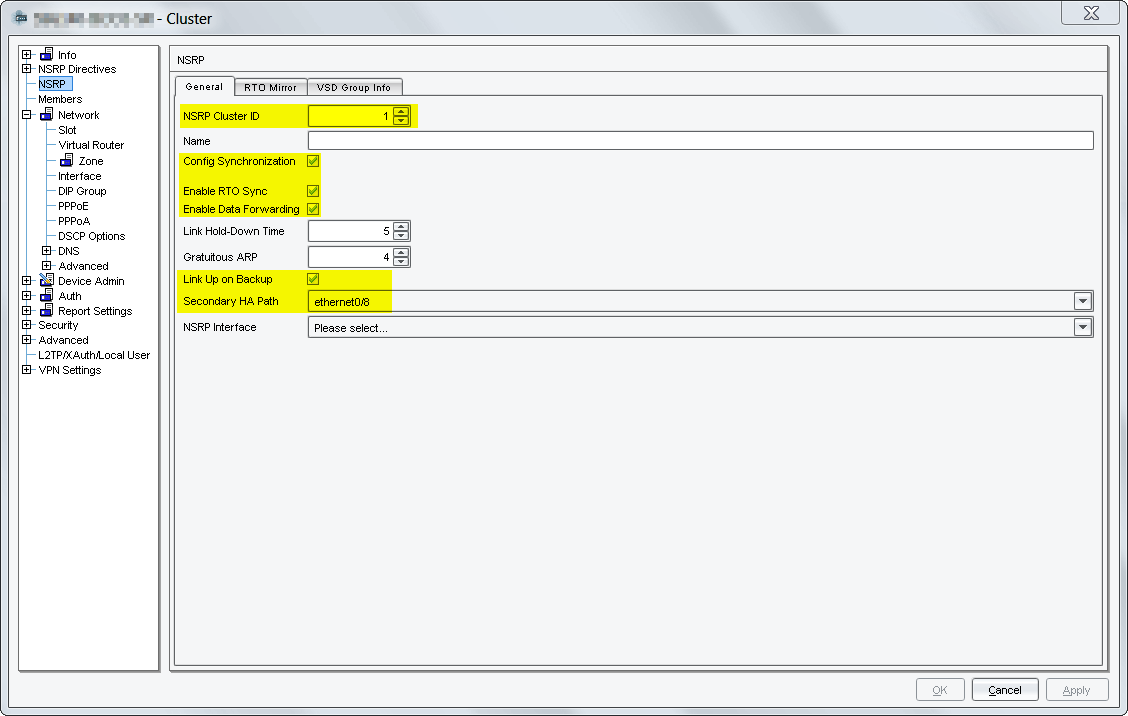
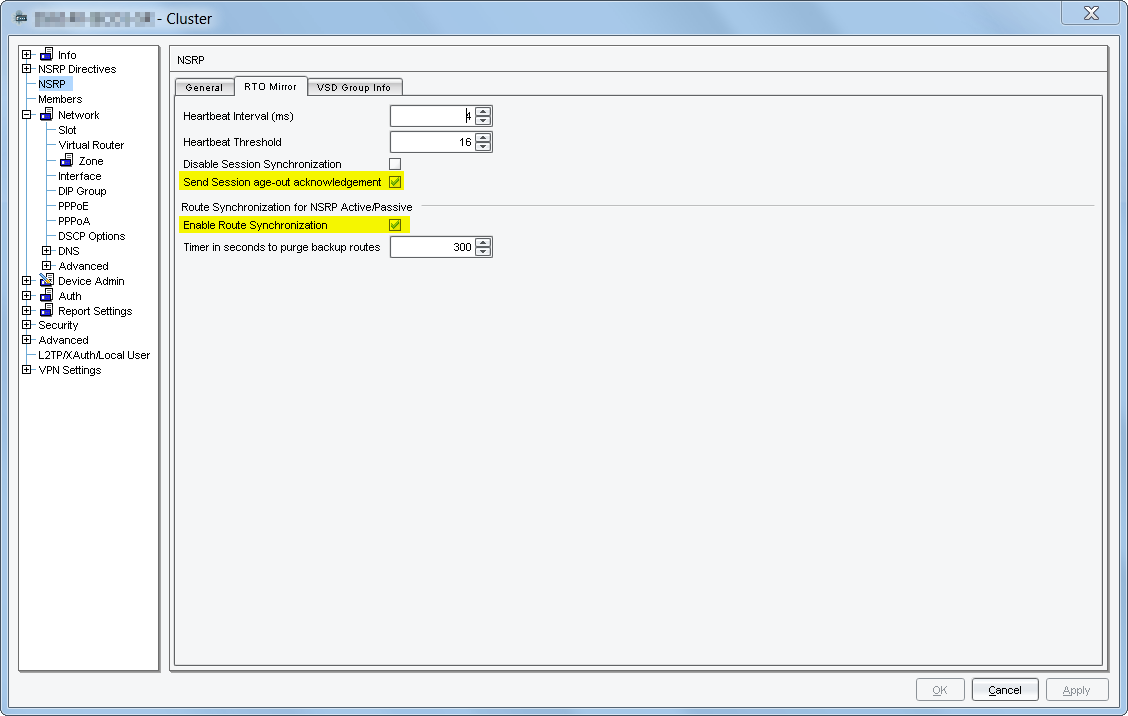
NSM
Version 2012.R3:


CLI
NSRP commands on the master device:
|
1 2 3 4 5 6 7 8 9 10 11 12 13 |
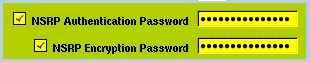
set interface "ethernet0/0" zone "HA" set interface "ethernet0/1" zone "HA" set nsrp cluster id 1 set nsrp rto-mirror sync set nsrp rto-mirror route set nsrp rto-mirror session ageout-ack set nsrp vsd-group id 0 priority 50 set nsrp vsd-group id 0 preempt set nsrp encrypt password hBsm8xVGdpqusGT set nsrp auth password cGvVjn5gYUF2yJK set nsrp secondary-path ethernet0/8 set nsrp monitor interface ethernet0/8 set nsrp monitor interface ethernet0/9 |
Links
- Juniper: Basic configuration steps of Active/Passive High Availability (NSRP)
- Juniper: How to configure NSRP options: secondary path, hb-interval, auth password, encrypt password, master-always-exist, link-up-on-backup
- Juniper: Assigning ports or interfaces for the HA link (NSRP)
- Juniper: Conditions to use the ‘set nsrp ha-link probe’ command
- Juniper: HA LED remains green in Backup with “set nsrp rto-mirror session non-vsi”