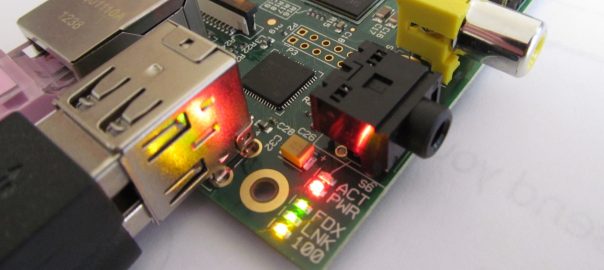
You probably know already the concept of the Pi-hole. If not: It’s a (forwarding) DNS server that you can install on your private network at home. All your clients, incl. every single smartphone, tablet, laptop, and IoT devices such as smart TVs or light bulb bridges, can use this Pi-hole service as their DNS server. Now here’s the point: it not only caches DNS entries, but blocks certain queries for hostnames that are used for ads, tracking, or even malware. That is: You don’t have to use an ad- or track-blocker on your devices (which is not feasible on smart TVs or smartphone apps, etc.), but you’re blocking this kind of sites entirely. Nice approach!
Yes, there are already some setup tutorials for the Pi-hole out there. However, it’s not only about installing the mere Pi-hole, but setting it up with your own recursive DNS server (since the default installation forwards to public DNS servers), using DNSSEC, and adding some more adlists. That’s why I am listing my installation procedure here as well. However, it’s not a complete beginners guide. You’ll need some basic Linux know-how.


